Tips for Using Acrylic Titles
Our creative team have been inspired by the wood veneer hearts in the February everything kit. And that is true for CT member Shu-Wen too. She told us, “as soon as I saw these heart wood veneer pieces in the February subscription kit, I knew I wanted to use them in conjunction with the "You & Me" acrylic piece that came in January's subscription kit.”
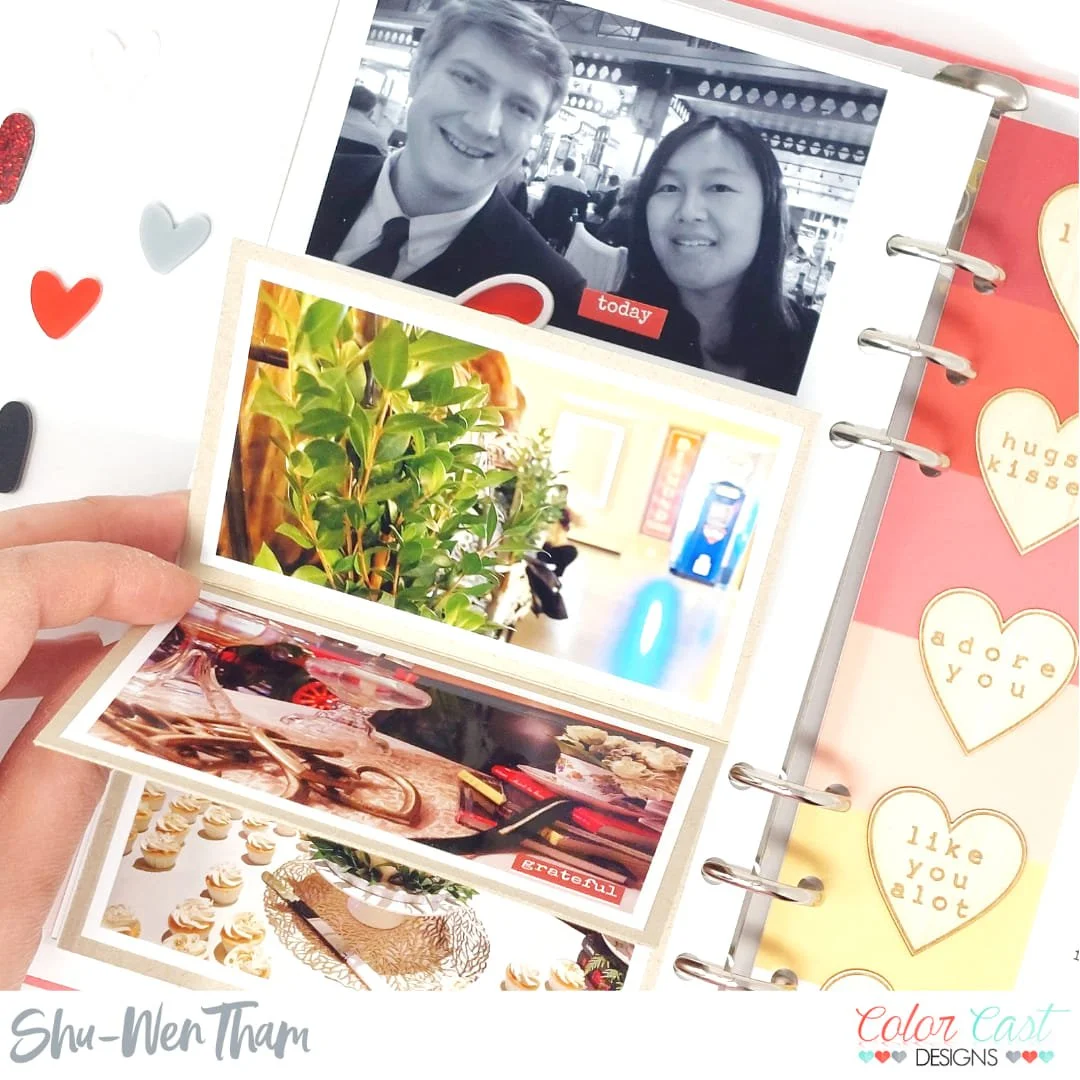
So, how do we incorporate acrylic titles with bold colors into our layouts? Shu-Wen shared a great tip for us. “Because I wanted the "You & Me" title piece to stand out on the left side of my page, I decided to make the two photos on my page black and white so that the colors of the photos didn't detract from the bold colors in the acrylic piece, though I did include additional colored photos in a little flip-up I made at the bottom of the page”

“For the right side of the page, I decided to keep things simple by backing the wood veneer hearts with a striped 3x4 digital card that I enlarged to fit my 8.25 inch page.”

The result is a lovely balanced page and the flip up allowed Shu-Wen to incorporate additional photos in full color in her story. To see how this layout came together, click here to view She-Wen’s process video.
We have one more tip for you from the creative team. Most of us use liquid glue or double-sided adhesive tape to adhere acrylics to our scrapbook pages and album covers. These adhesives hold up very well over time. Give them a try.
We hope you are enjoying all of our shop releases. Please tag @colorcastdesigns or use the hashtag #CCD2022 on Instagram or Facebook to show us what you are creating with your kits and bits of goodness from the shop!
Happy crafting,
~Robin